Showing posts with label Terrain. Show all posts

Monday, 1 April 2024

April Fool

A lot has happened in the last 3 months, and I realized my January 7 post didn’t save properly! On no!

Anyways, life goes on…

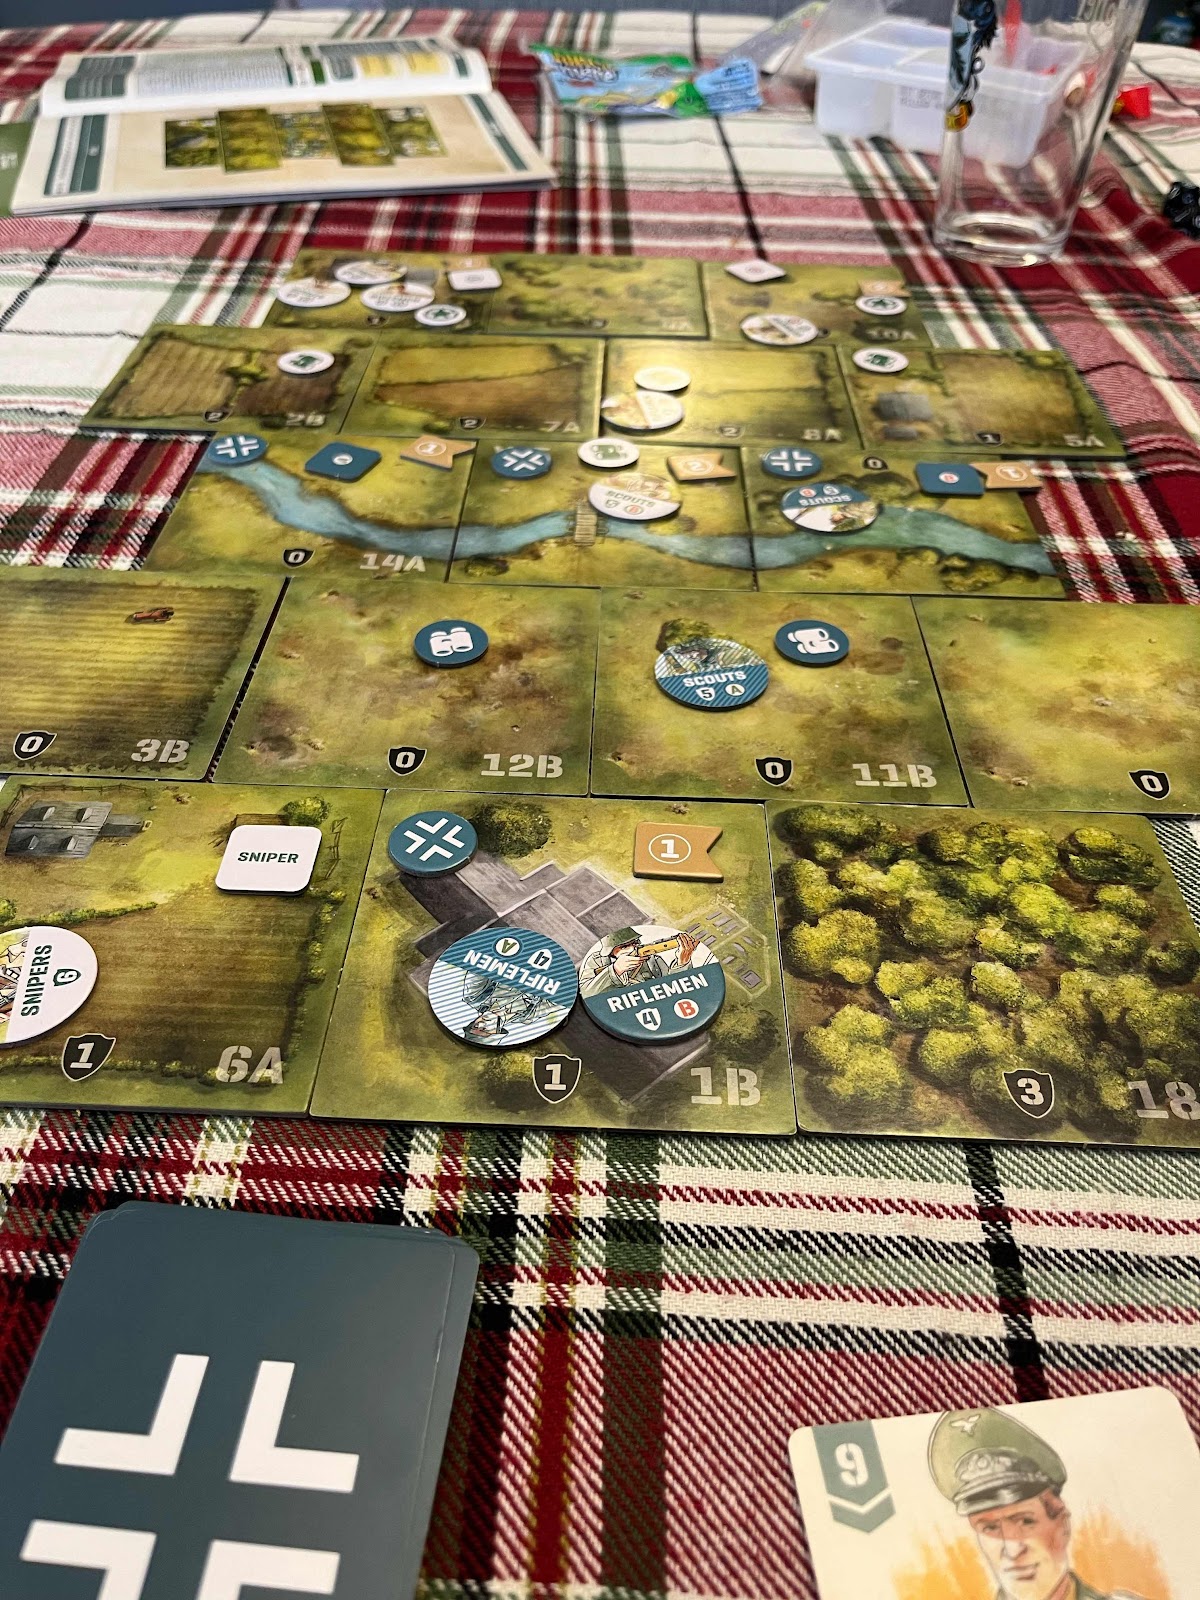
My son got Undaunted: Normandy and Undaunted:Reinforcements for Christmas and we played a bunch of that. Great game.


My Oathmark Elf Cavalry arrived and I built those.
Like all Oathmark plastic kits, they are well made and easy to assemble.


I also built my Goblin Slaves. I also finished another 2 boxes of undead. 30 Skeletons and 30 revenants.


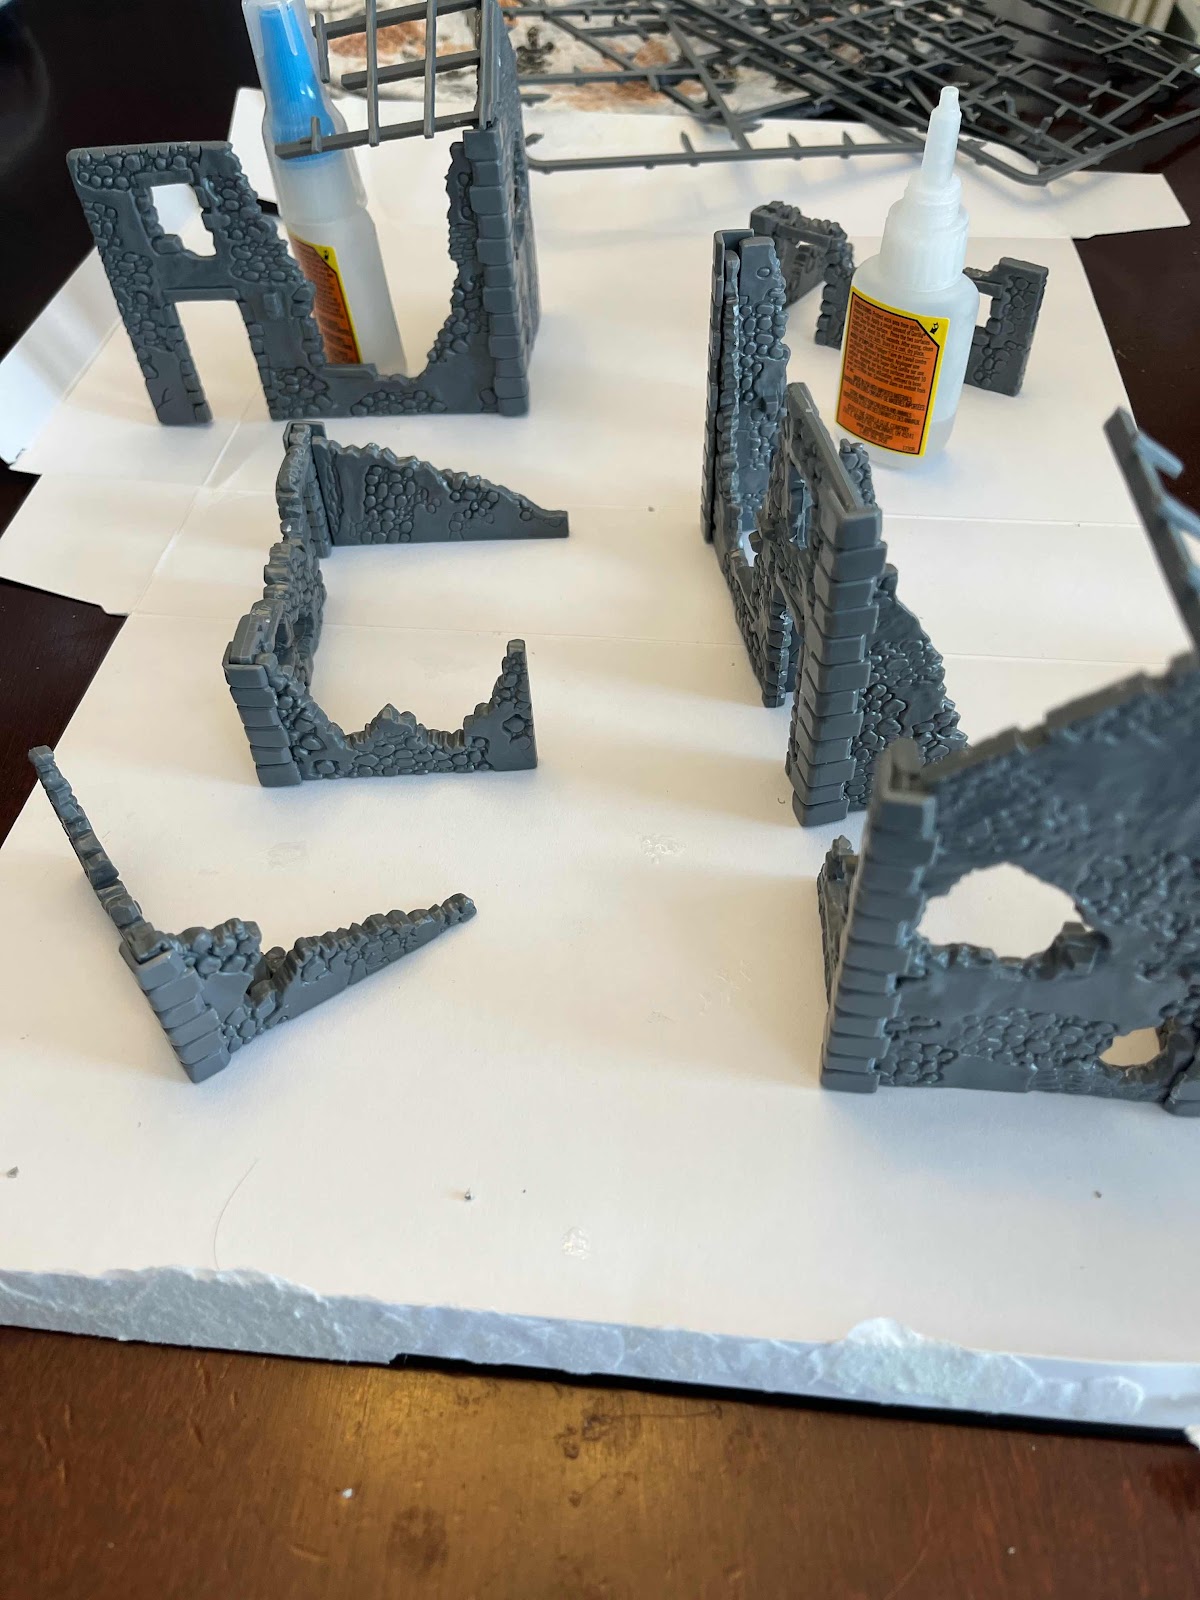
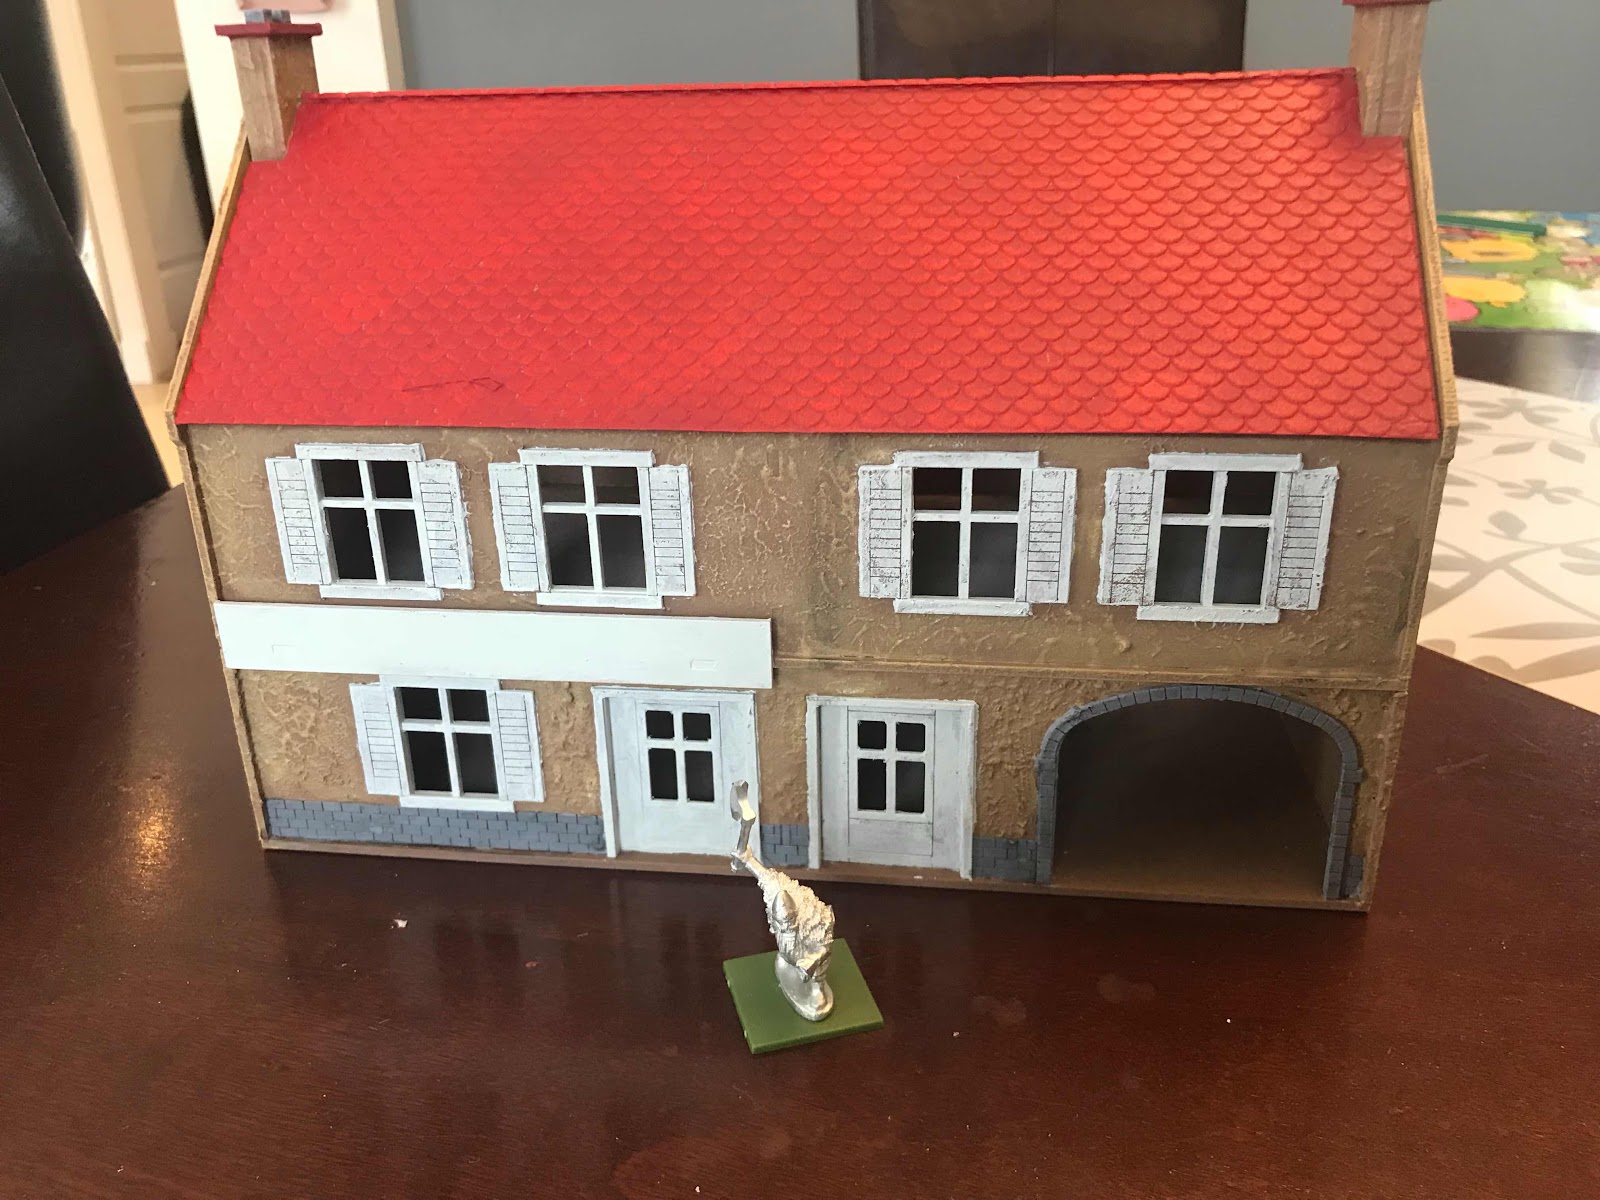
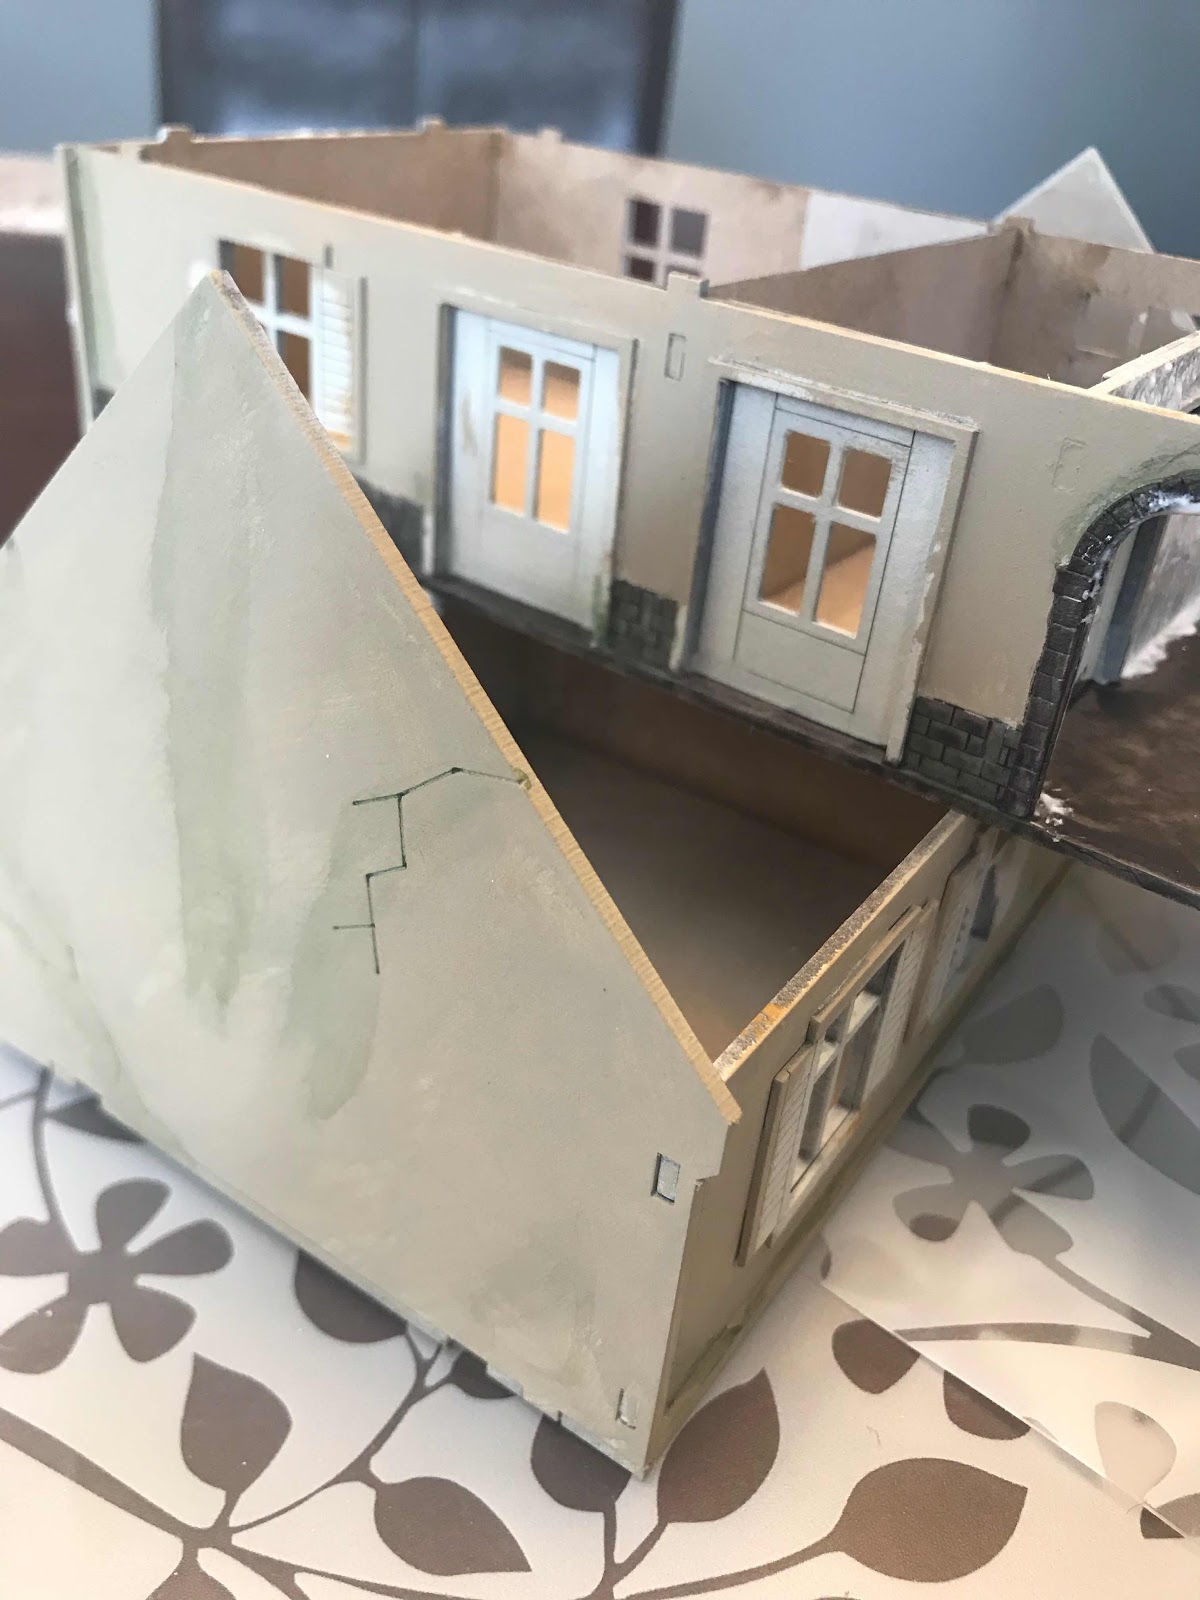
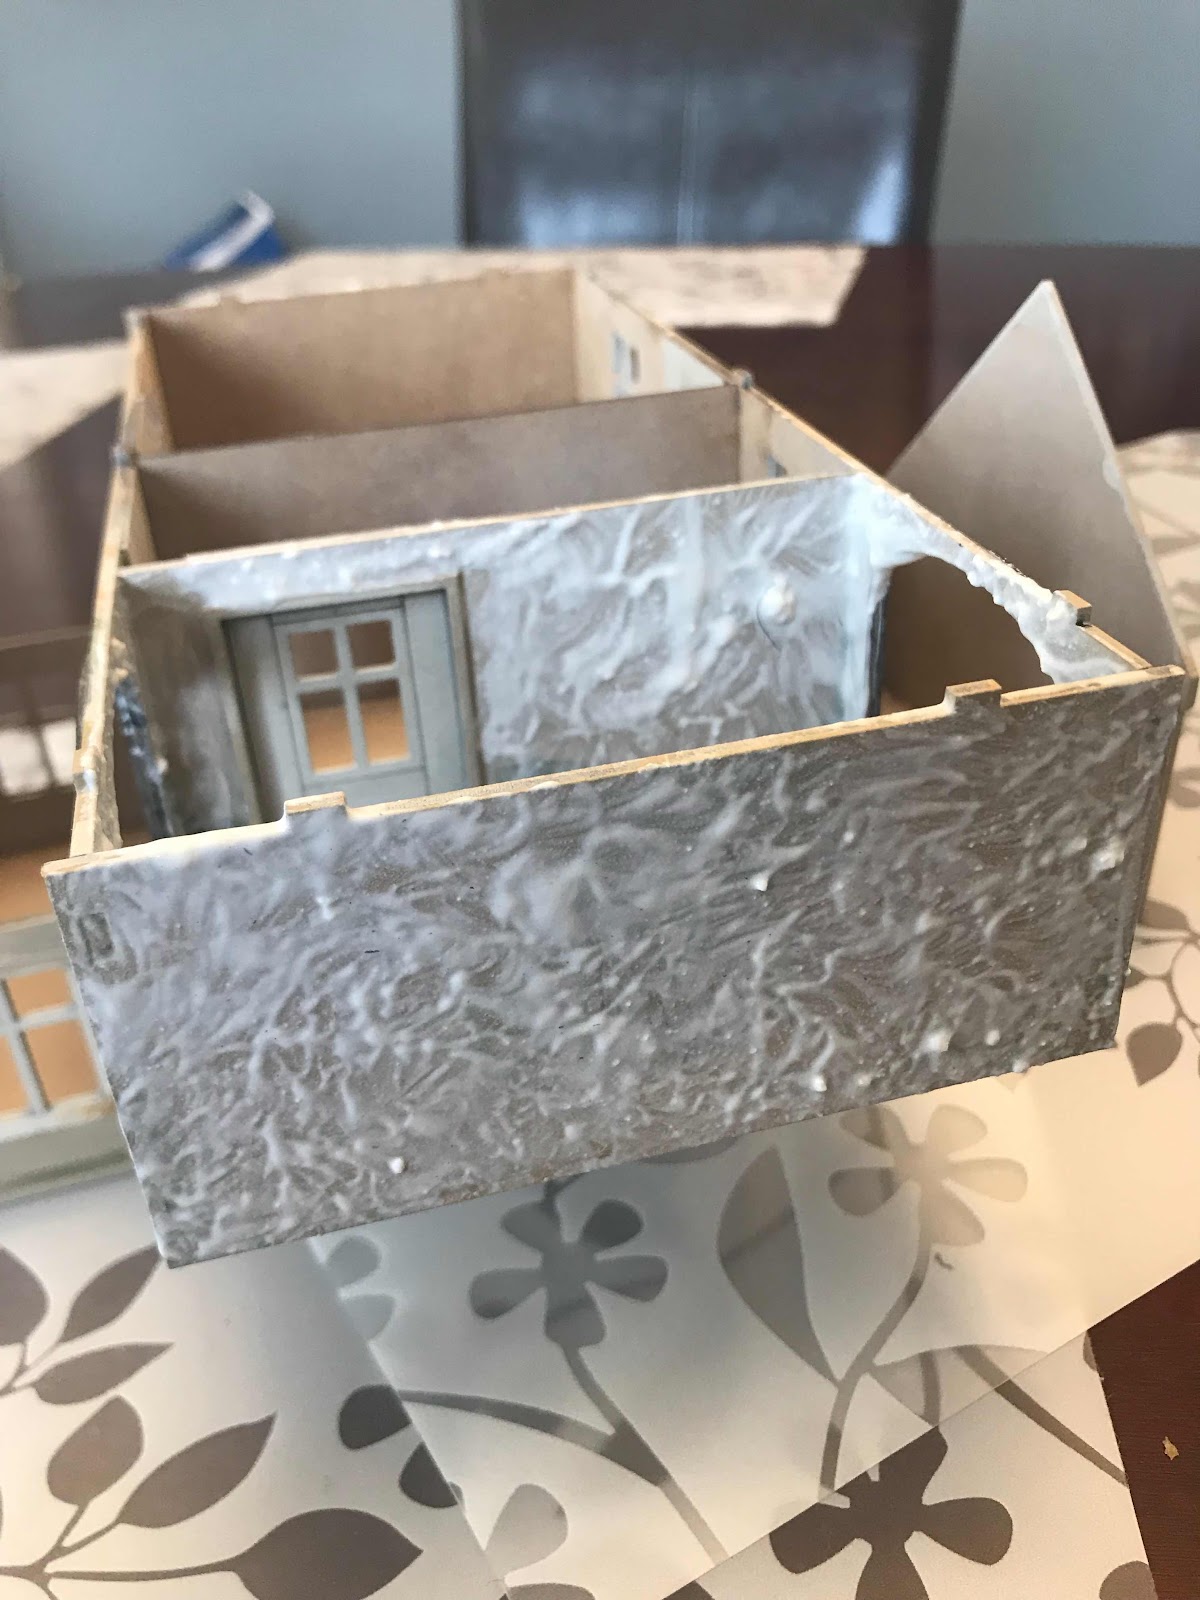
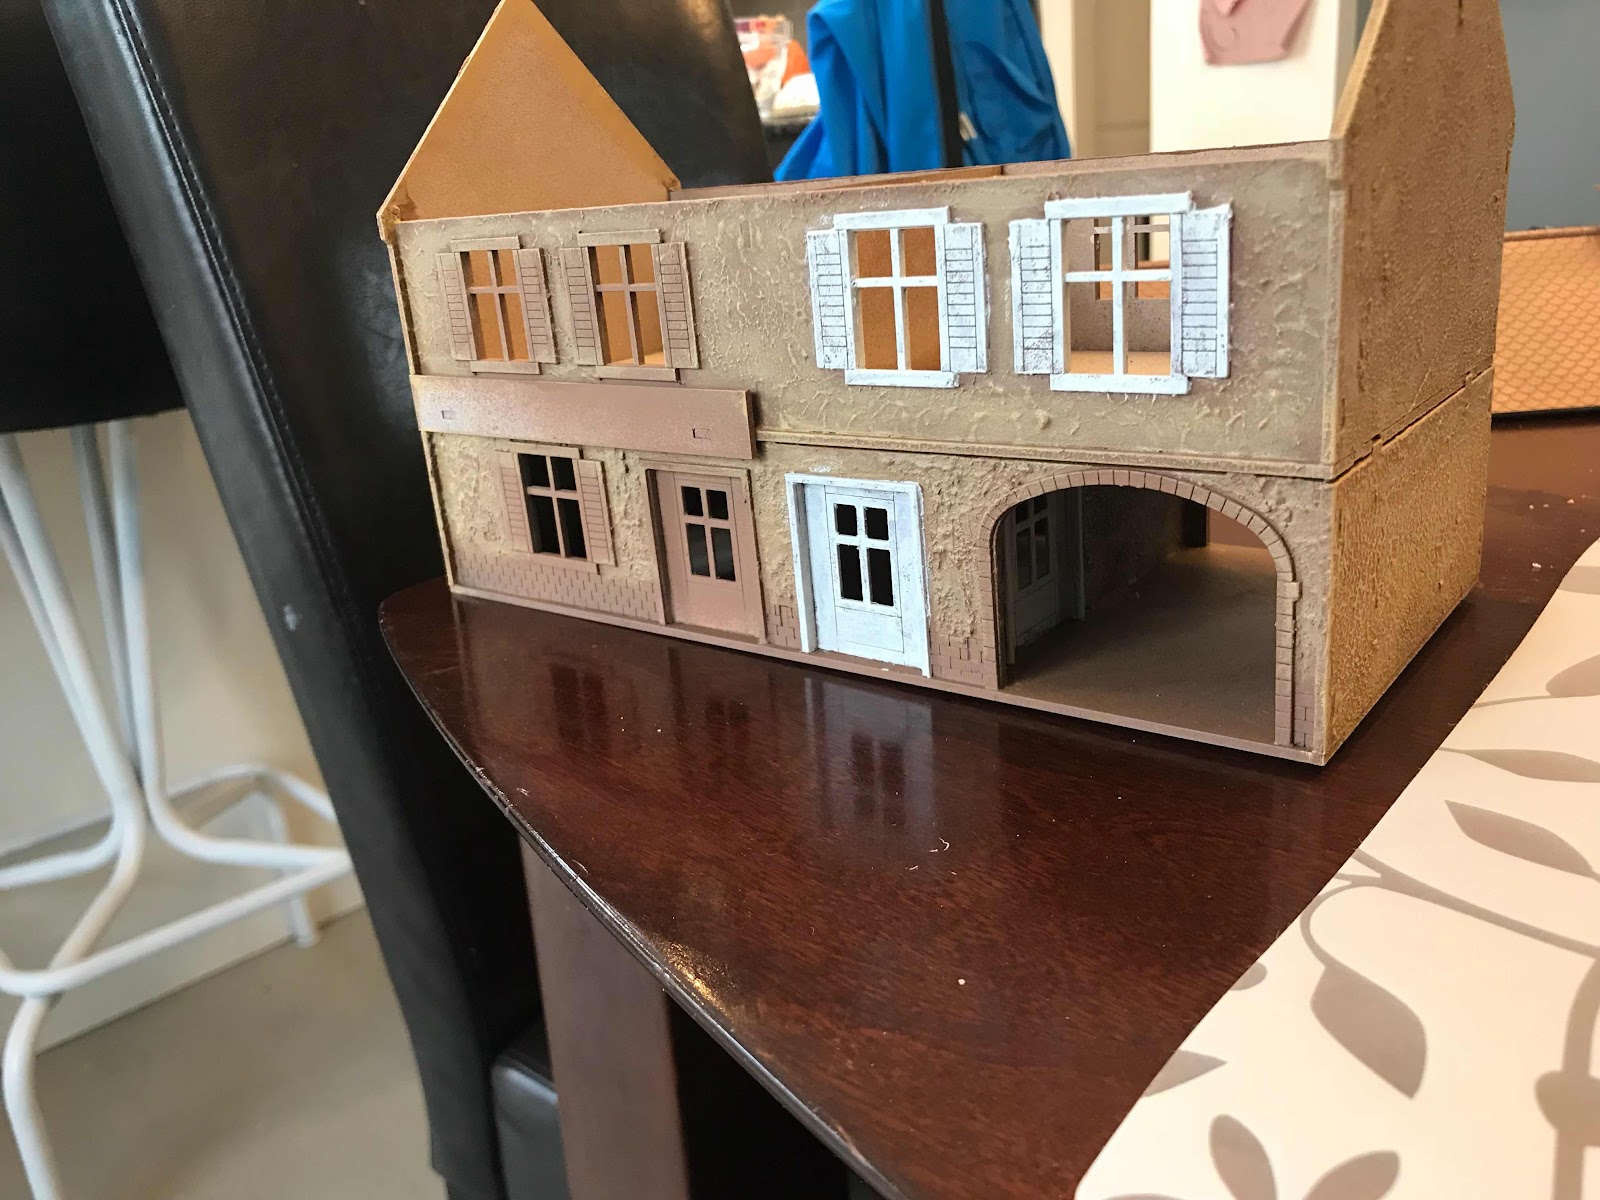
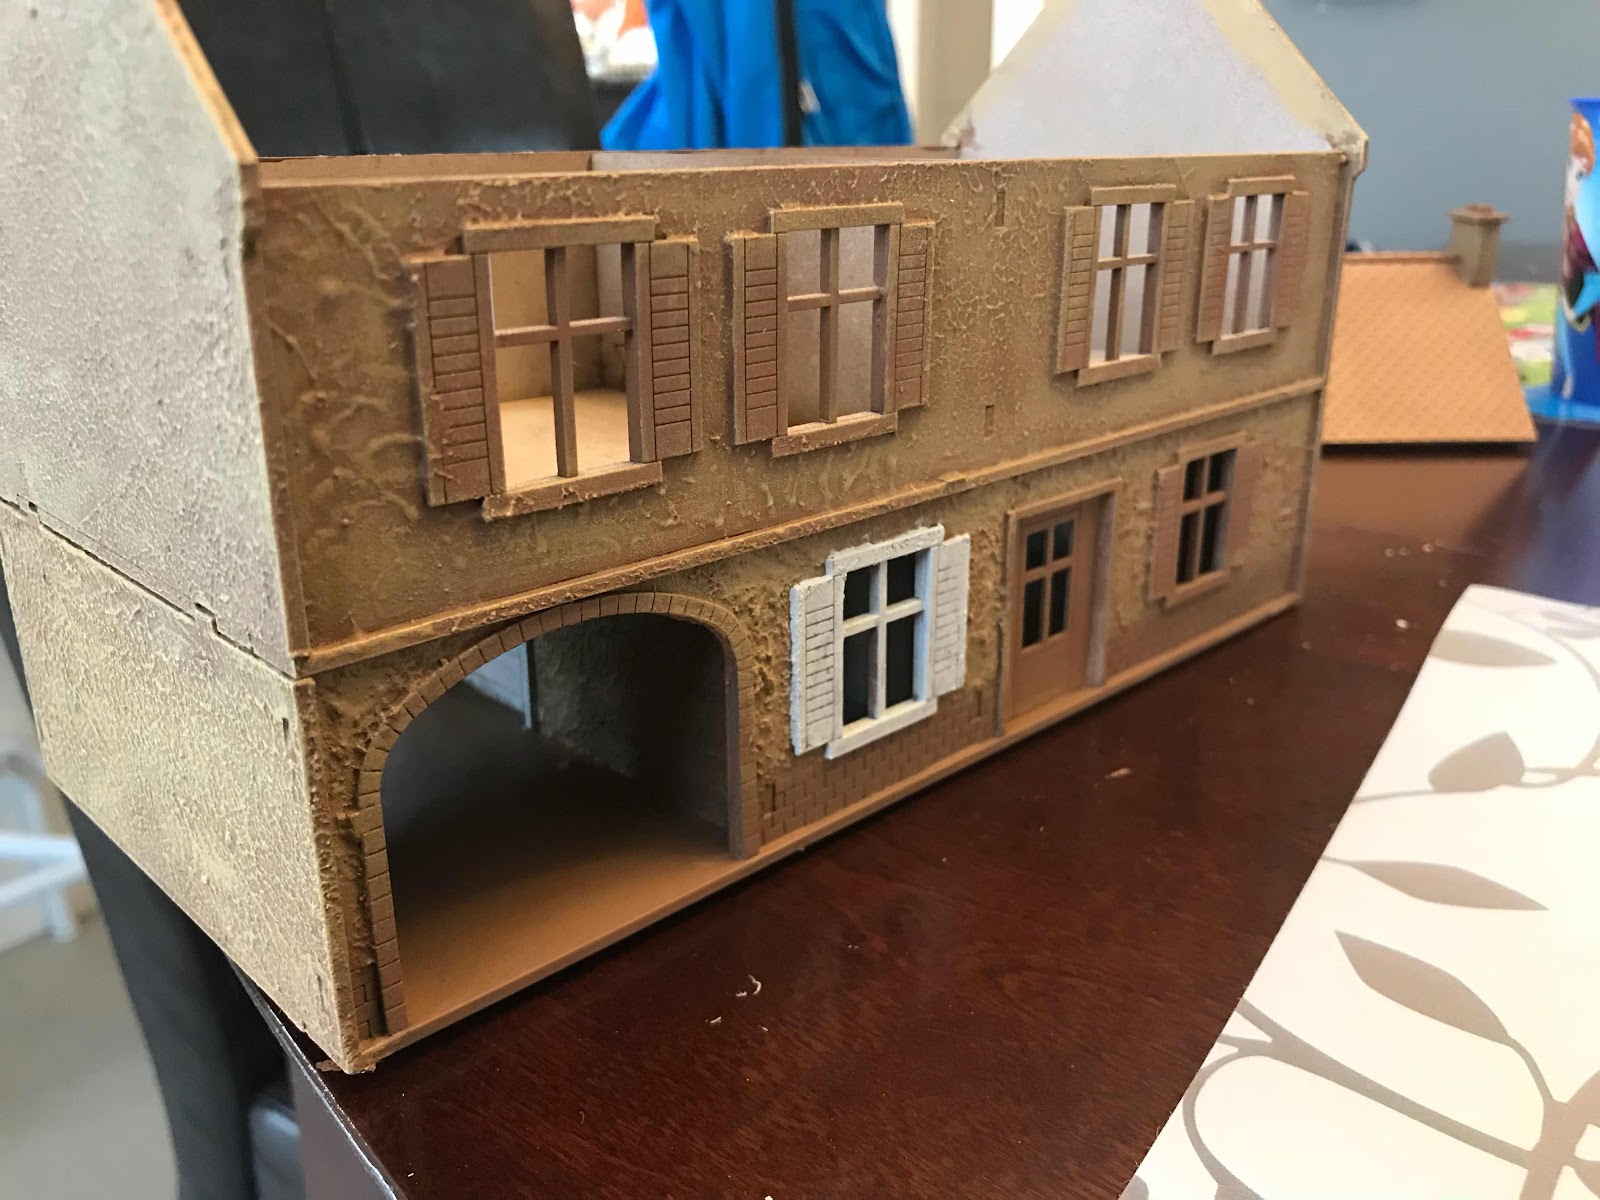
Next I built 3 4ground houses.


I also got the Century: Big Box and we played that. Very similar feel to Splendor which we enjoy mightily.


I also jumped in head first to HeroQuest and picked up all the expansions. My youngest son and I have almost finished the quests from the core box.


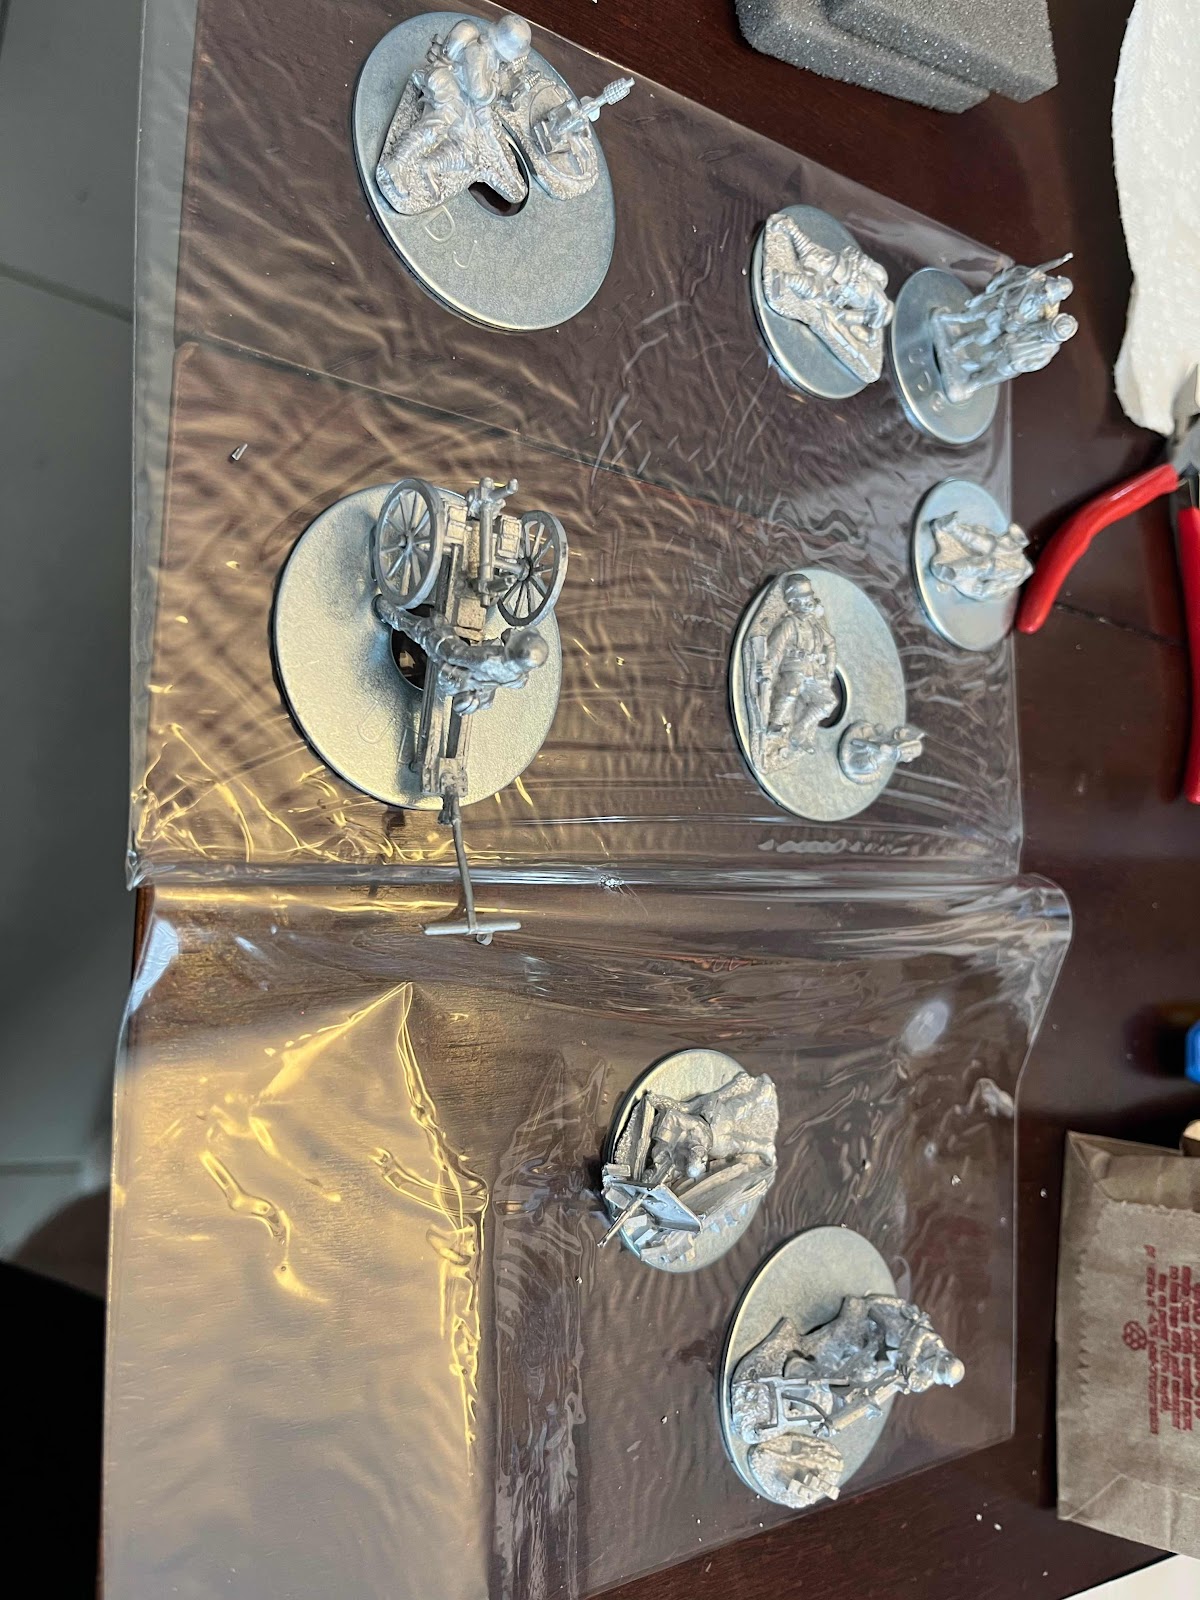
I also decided to start gaming a Very British Civil War (because I need another era to game in). Thankfully I already had this platoon of Footsore Miniatures Early War Scotsmen.

I primed them, painted the kilts and hats blue (base colour for Black Watch Tartan -wtf am I thinking) I also painted the webbing green, and all the black and brown bits (boots, scabbard, rifle). All that’s left is the skin, hair and metal bits.


In the end of March we attended Holyead. Southwest Ontario’s premier gaming convention. It’s in its 29th year.  Saw a lot of friends and played 4 games.

The first (Friday night) was a WWI game set in Africa in 1914. Rules were modified 1 hour skirmish Wargames. GM Dan Hutter runs a well oiled table. 


Saturday AM my youngest played a game for all ages but meant for kids. Wooden soldiers and armed teddy bears and frogs. Great way to introduce youth to the hobby. 


I also hit the bring and buy pretty heavily. I sold about $255 worth of old rule sets and codexes and some plastic figures I’m not going to use.
I purchased some interesting things. I did have a bit of buyers remorse though. I was debating buying two full painted Afrika Korps armies (one infantry based and the other vehicle based). Instead I bought painted 3D printed Battletech mechs that were printed to a larger scale (my kids and I played Gamma Wolves with those mechs last year and they loved it). I bought the mechs for them but they didn’t seem to impressed with them this year. I should’ve just bought the Africa Korps for myself then.


I also picked up a larger river (6 pieces) and a set of 4 fields from an estate sale. 


I came out slightly ahead all in all. Then blew the earnings and then some on some 3D printed vehicles for VBCW.

Saturday afternoon, my eldest had a nap so I brought the youngest down for a game of Speedfreaks! Think Gaslands using GW Ork vehicles and rules. Last year we placed a paltry 2nd place. This year we took home the cup.


Saturday evening, after his nap, my oldest joined us for a game of silly hats. Back of beyond somewhere in Warlord China. White and red Russians, Mongols and various Chinese factions all vying for the hand of a Warlords daughter.  Another Dan Hutter masterpiece.


All in all, quite a busy three months. We played a game yesterday but I plan to cover that later this week.

Cheers everyone!


Sunday, 5 February 2023

Bases and buildings

My oldest has a 24 hr bug that caused him to miss a really important soccer game today so what better way to spend the day than to plug away at the piles of shame.

I also took the youngest to practice as there is a Home Hardware nearby. I needed some larger metal bases 1-1/2” and 2” widths so the casualties, snipers and heavy guns.

So I spent another $5.15 on metal bases. However I had a gift card so I’m debating whether that counts. I’ll count it bringing the 2023 Hobby expenses total to $67.48. 

Anyways I picked up 4x 2” washers and 4x 1-1/2” washers. I got home and quickly realized I probably need another 2-3 of the 1-1/2” size.

I based some of the figures.
I put a bit of plastic down first as there’s some type of chemical reaction that occurs between the glue and washer hole apparently that leaves marks on the table. That was a fun discovery last go around.


Pictured L to R top to bottom are the grenade launcher and 3.7mm TAK anti-tank gun, the casualties, a sniper and the machine gun. I left most of the crew off of the weapons teams for east of painting.

I have 1 sniper, another flamethrower team and an antitank rifle left to base.

I also put together four sprues of Warlord Games’ plastic ruined hamlet I got before Christmas. I had tested out one building so now have the set done.

Shown are two sprues worth. I opted for 6 pieces of ruins to allow for various configurations.


The weather was atrocious this week but it’s finally warming up. Hopefully I can prime these ruins quickly.

Monday, 8 June 2020

Scratch building forests

I took advantage of the warm weather and being ahead of schedule painting various bits around the house to break out some terrain pieces and get stuck in.

I had another Charlie Foxtrot building (boulangerie) build so I spray textured it and eventually primed it grey.

I also glued some twigs collected during evening walks with the family  to some MDF I trimmed down several weeks ago.

These stocks have busted tips and will be used as a shell burst copse of dead trees for WWI.


I had some other twigs with flat cut edges which were glued onto the MDF. I shaped two pieces of Pink insulation  and popped them on top. They will be the bulk of the foliage.


The pink insulation was painted green using craft paint and will be covered with lichen and clump foliage.


I drilled into the bottom of the styrofoam so the “tree trunks” insert into it. It is fairly sturdy.


I made two pieces. I have another 7 MDF bases to fill. All in all it was a quick project. It cost me next to nothing as the sticks I picked from the forest. The insulation was blowing down my street two years ago from a nearby job site. The MDF was a protective floor covering the I needed 2 years ago when I remodeled the kitchen.


Tuesday, 21 April 2020

WWII French Farmhouse Part 2

Well, it’s completed. I finished it on Sunday.

Oathmark Dwarf Champion for scale.

Picture of the front. I just need a name for the store. I’m thinking the Farmer’s wife sells excess produce, dairy  and baked goods inside. I want a funny name but nothing too risqué.
I’m thinking the farmer’s name is Jim Appel (je m’appelle, get it, get it?)


Picture of the rear. I might put down a few more droplets of wash here and there. I was also thinking about putting some cobblestones and straw down inside the archway...


But for now I’m calling it done. Pretty happy with how this one turned out.

Saturday, 18 April 2020

WWII French Farmhouse

I’ve been bitten pretty hard lately by the Chain of Command bug.
Ive has paratroop forces for Britain, USA and Germany for quite some time as well as an MDF large farmhouse from Sarissa Precision.

I primed it beige and used Citadel Contrast for the stone work. I brushed on some green wash for weathering and smeared it with my finger.


I wasn’t happy with how this looked so decided to try again.

I got out some trusty spackle and mixed in some water until it was like toothpaste.

I then dabbed it on the surfaces to create a stucco look.
As the building was already assembled, it was difficult to get it consistent around the windows.


Today, with the beautiful weather, I used a medium brown spray paint to lightly dust the exterior walls.

I then used a lighter brown to dry brush the walls, which added depth.

Next I started to paint the windows and doors in white.

I have to finish the sign and the remaining windows and doors. I also have to pick out the stones along the bottom in grey and around the archway.

I’ll probably add some wash down some of the walls to look like dirt and grime.

Here are some  pictures of the progress.


Sunday, 15 November 2015

Western Town Redux

A few months ago, I broke out the start of my yet-unnamed Western Town built by the talented Colin Rush, some newly acquired painted Foundry figures and the Legends of The Old West rules for a quick game.

Well, my passion for all things cowboy was re-ignited and I decided to treat myself to some new buildings to expand my set-up.

Below is the second of my three purchases. Detailed posts of each will follow shortly. I plan to post pictures of the other buildings as well.

I ordered the Schmidt General Store. It is truly a beautiful building loaded with detail. When it came to the door, I noticed the box was a little crushed. 
I also had to pay $30.00 for handling. 

I opened the box to find extensive damage to the General Store. Luckily by super glue skills are above par and I fixed all of the damage.

I've included before and after pictures.

Two 2nd floor deck supports are broken.
 
And fixed. Just look at the detail!


The balcony rails have been pushed in and come apart.


And fixed. So much room for figures. And a close up of the flags.

 
A roof strut broke and the framing on the top of the building cracked in three pieces.


Fixed. This was the least of the damage. Maybe a touch of paint to hide the cracks?


Lastly, the stairs to the second level. Thankfully the stairs were pretty solid and just detached from the wall and posts.


That's a long drop down. And the fixed photo below!


Excuse the photos. The lighting in my hobby corner sucks. Anywho, all the damage is repaired. It only took 5-10 minutes.

And I do not blame Colin at all. He packs the boxes very well, stuffing styrofoam popcorn in every crevice, under porches and stairs to ensure minimal movement. Somewhere someone put a much heavier box on mine and crushed it, or kicked it down a hallway. 

Thanks for sticking with me. See you soon!

Saturday, 13 September 2014

Building Terrain - Large Farmhouse

Bit of a break since the last post. I built the Sarissa Precision Large Farmhouse sometime last week but finally got around to talking some pictures. 

On to the review. Another nice flat pack piece of kit. Three (or four, oops it's been a while) sheets of 2mm MDF and a sheet of 1mm card.

Again a nicely laid out diagram and exploded diagram for easy installation.

The kit went together pretty easy. I read a review that stated the floors and roof have little tabs (that clip it all together) that are a pain but I didn't find it a pain. It separates quite easily.


Finished. Looks pretty good.


With the roof off. Just two separate rooms.


With the second floor off. One large room, one small room and an overhang.


All three pieces separately.


I really enjoy Sarissa Precision kits and look forward to getting many more. The 1mm card pieces were fiddly. Especially the archways.

Thursday, 28 August 2014

Building Terrain - Western Wagon

I managed to find some time to put together the Sarissa Precision MDF Western Wagon. It comes flat packed and is really quite a small package.


Now onto my mini review:


Inside is a 1 page instruction manual with the overall picture (above) and the exploded diagram (below)


The kit comes on one single sheet of 2mm MDF.


I noticed that all the little punch out pieces are excellent for battlefield debris/bricks etc .

One view of wagon. There is also a long piece of MDF that attaches to the bar pictured between the front wheels. As I'm not going to attach this wagon to any animals I'm not attaching the bar. Forgive my wagon ignorance.


Reverse side


All in all, another easy kit by Sarissa. No real fiddly pieces. The lack of details inside the wagon is irrelevant as I plan to have hay in wagon bed.

Tuesday, 26 August 2014

Building Terrain - Barn


Yesterday, I received my order from Sarissa Precision.

Today I thought I'd tackle the Dark Ages barn which will be an old barn in the corner of a walled farm somewhere in Normandy in 1944.

I must say these are my first MDF kits so I'm excited.


The barn comes with a single sheet of paper which includes the overall picture (above) and an exploded schematic (below).


There were also two small sheets of 2mm MDF with all the pieces.


A quick confession: I really dislike the initial smell but it goes away.

The barn pieces punched out fairly simply. I was worried about the front supports/beams but all in all, the barn went together very quickly.


Front angle - the exterior has detailing but alas, the interior is rather plain..


Rear angle - I really like the barred windows at the back. A bit fiddly getting the pieces out. When assembling these kits, a knife is a must.


The roof and walls are separate. I'll probably put a large hay bale or something on one side that a sniper can hide behind.


All built! Still a long way from being "done". 

Need to detail the roof, build a hay bale, and paint this sucker. 

This kit went together really fast and easy. It took less than 10 minutes to put together.


With Warlord American Airborne Pathfinder for scale.