Saturday, 16 May 2020

Charlie Foxtrot Initial Thoughts and smaller buildings.

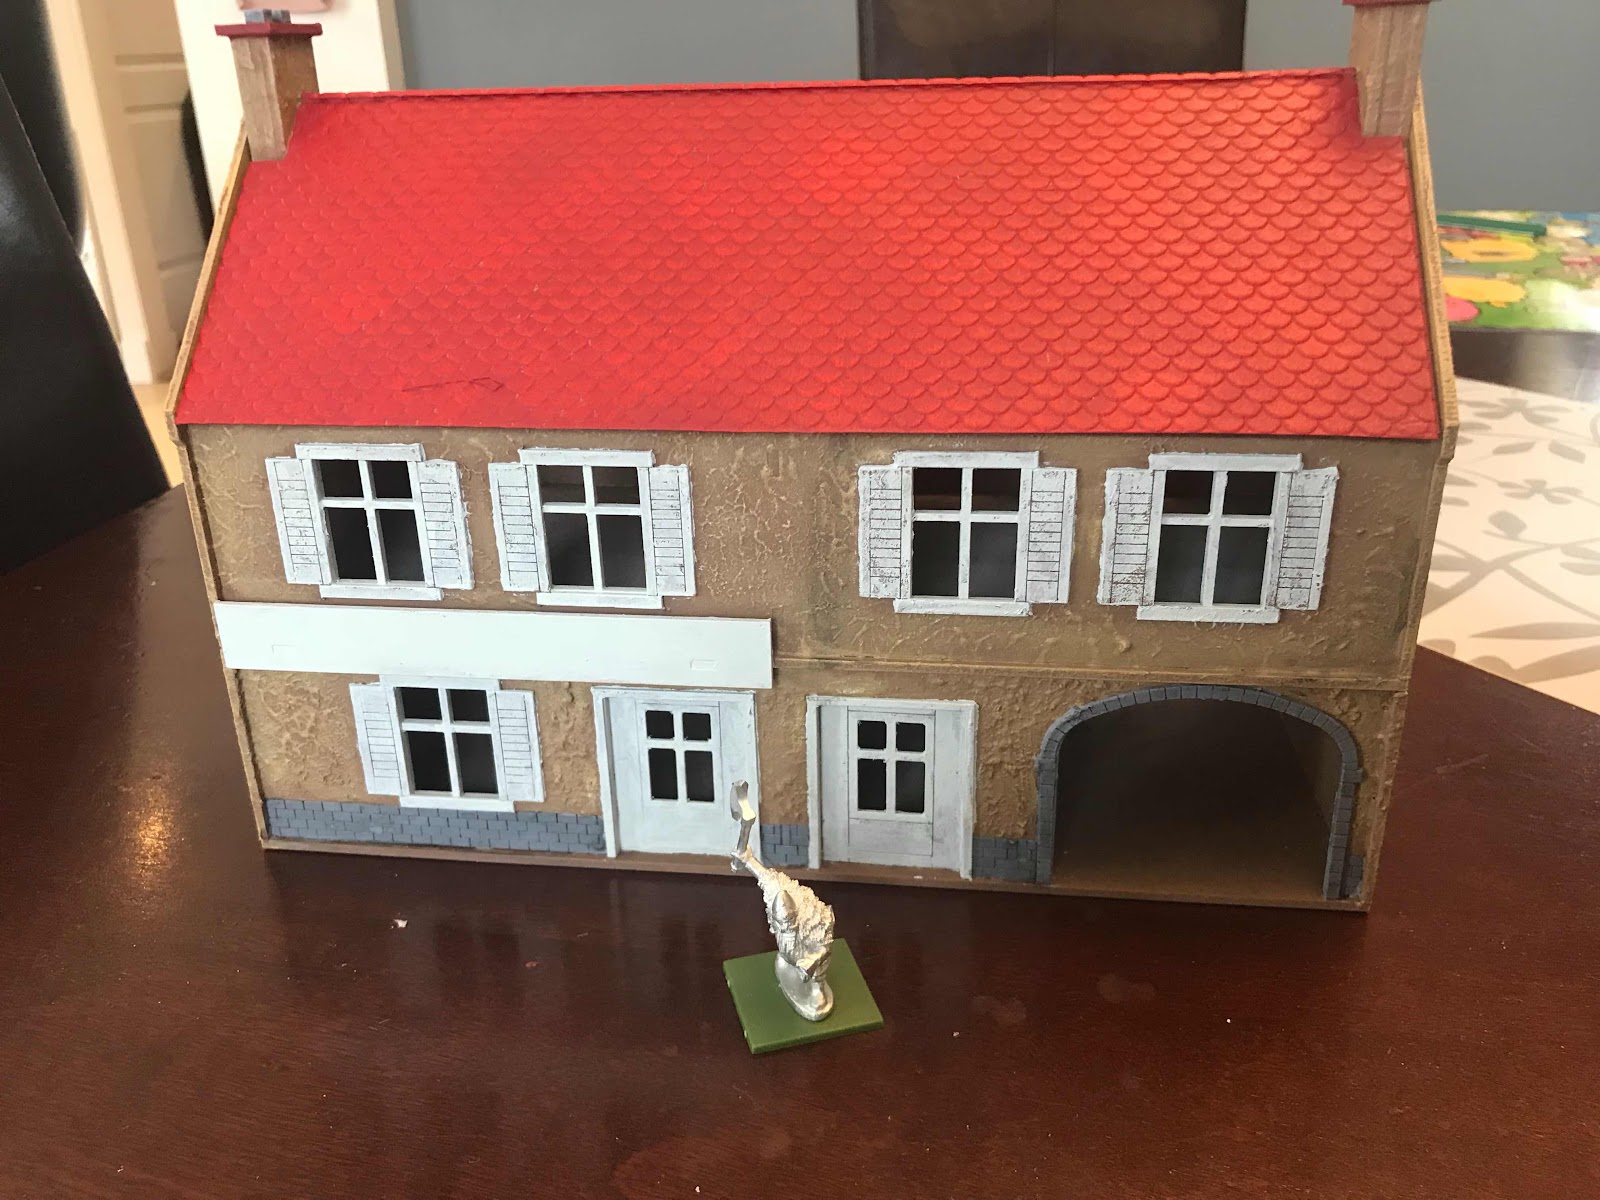
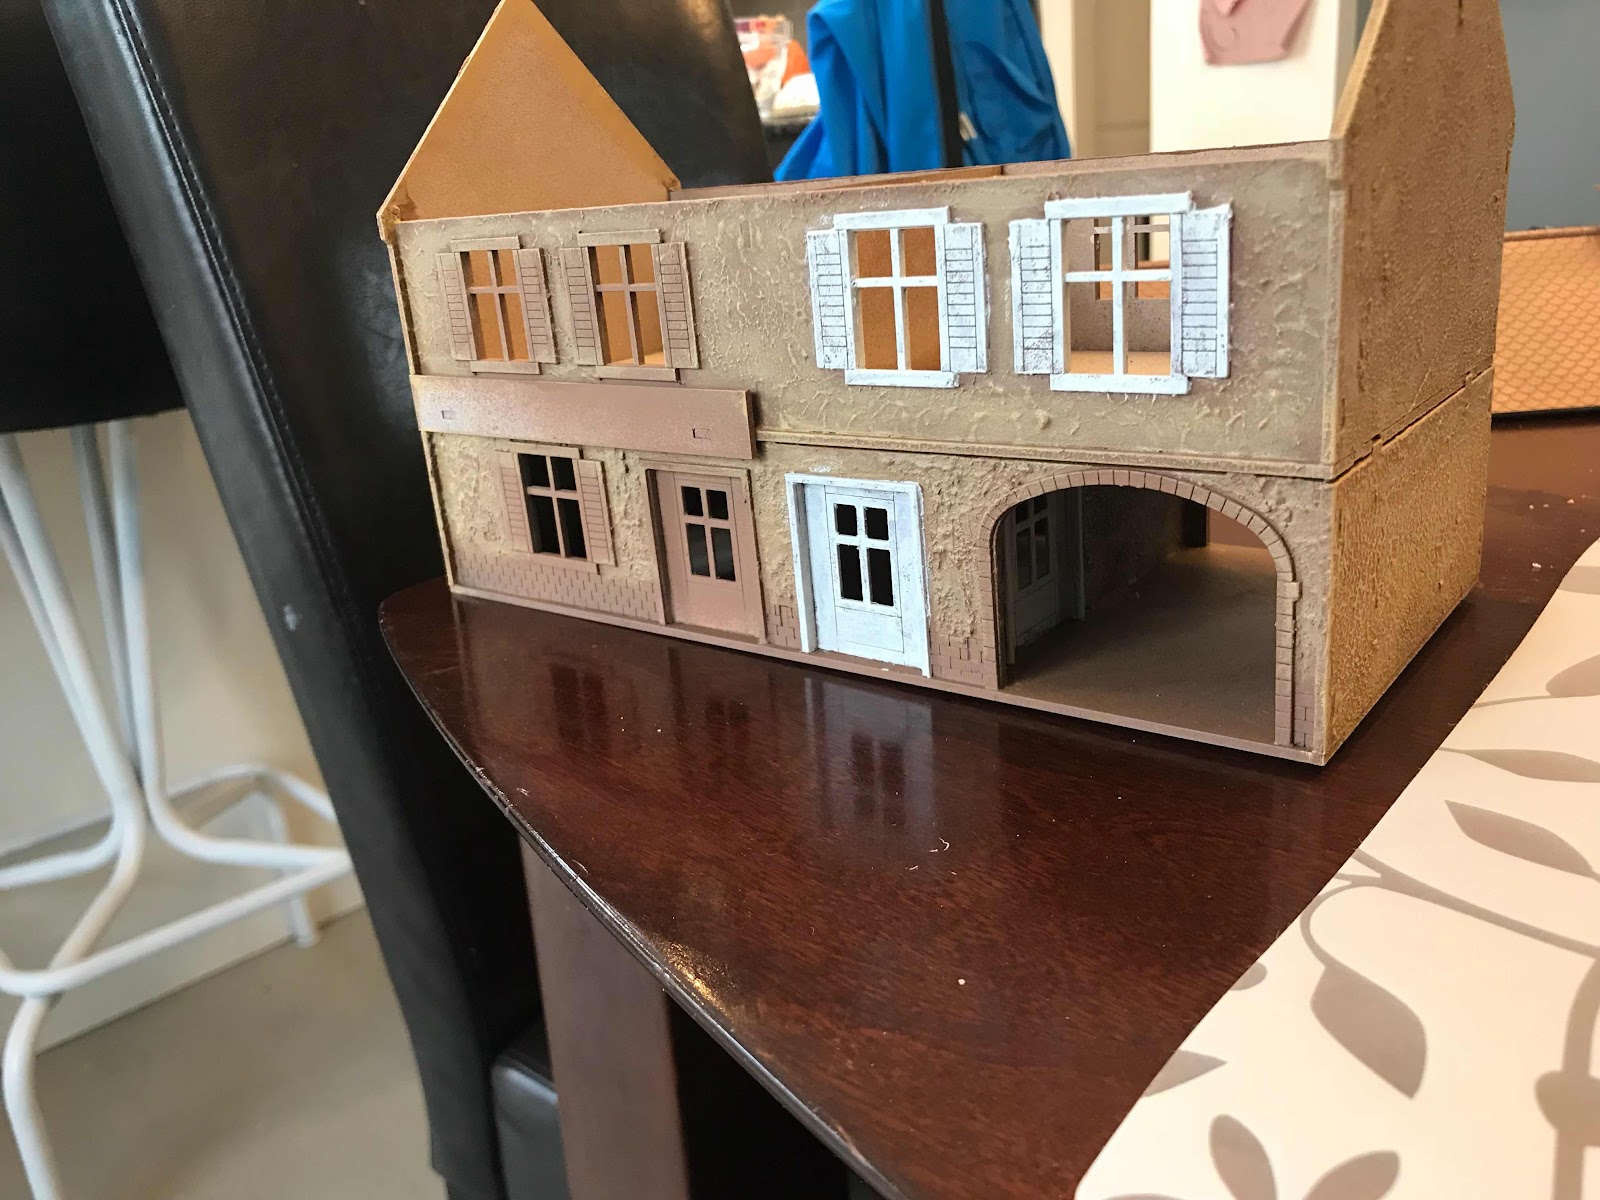
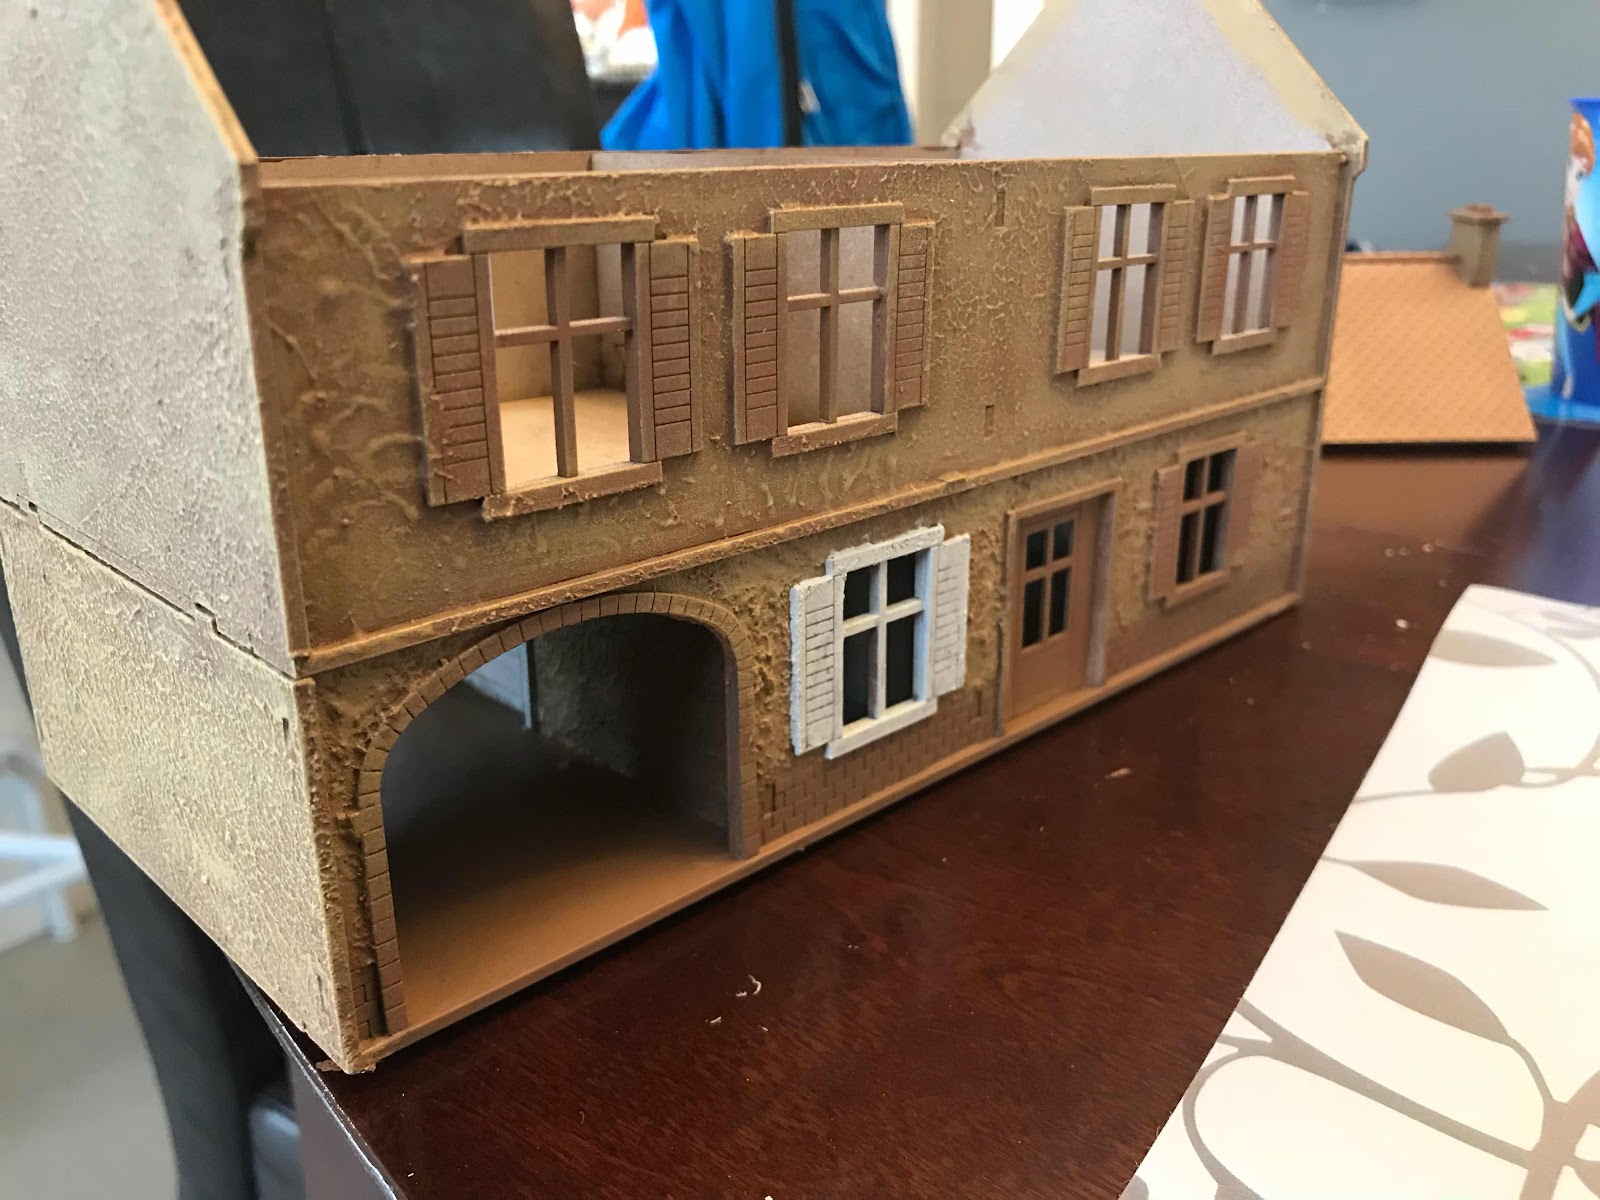
I found some spare time today and managed to put together the workshop, log store, stone shed and extension from Charlie Foxtrot Models.

There wasn’t the usual heavy smell of burned MDF which was a plus. 

There’s lots of detail on the kits as well.

I started with the workshop. Nicely packed in a ziplock bag. Pieces already punched out with helps keep weight down for postage I presume.


Here’s the basic components. No instructions were included. However, the pieces have tabs and with some dry fitting and patience it’s easy to figure out.


Boom! Basic shape is done!


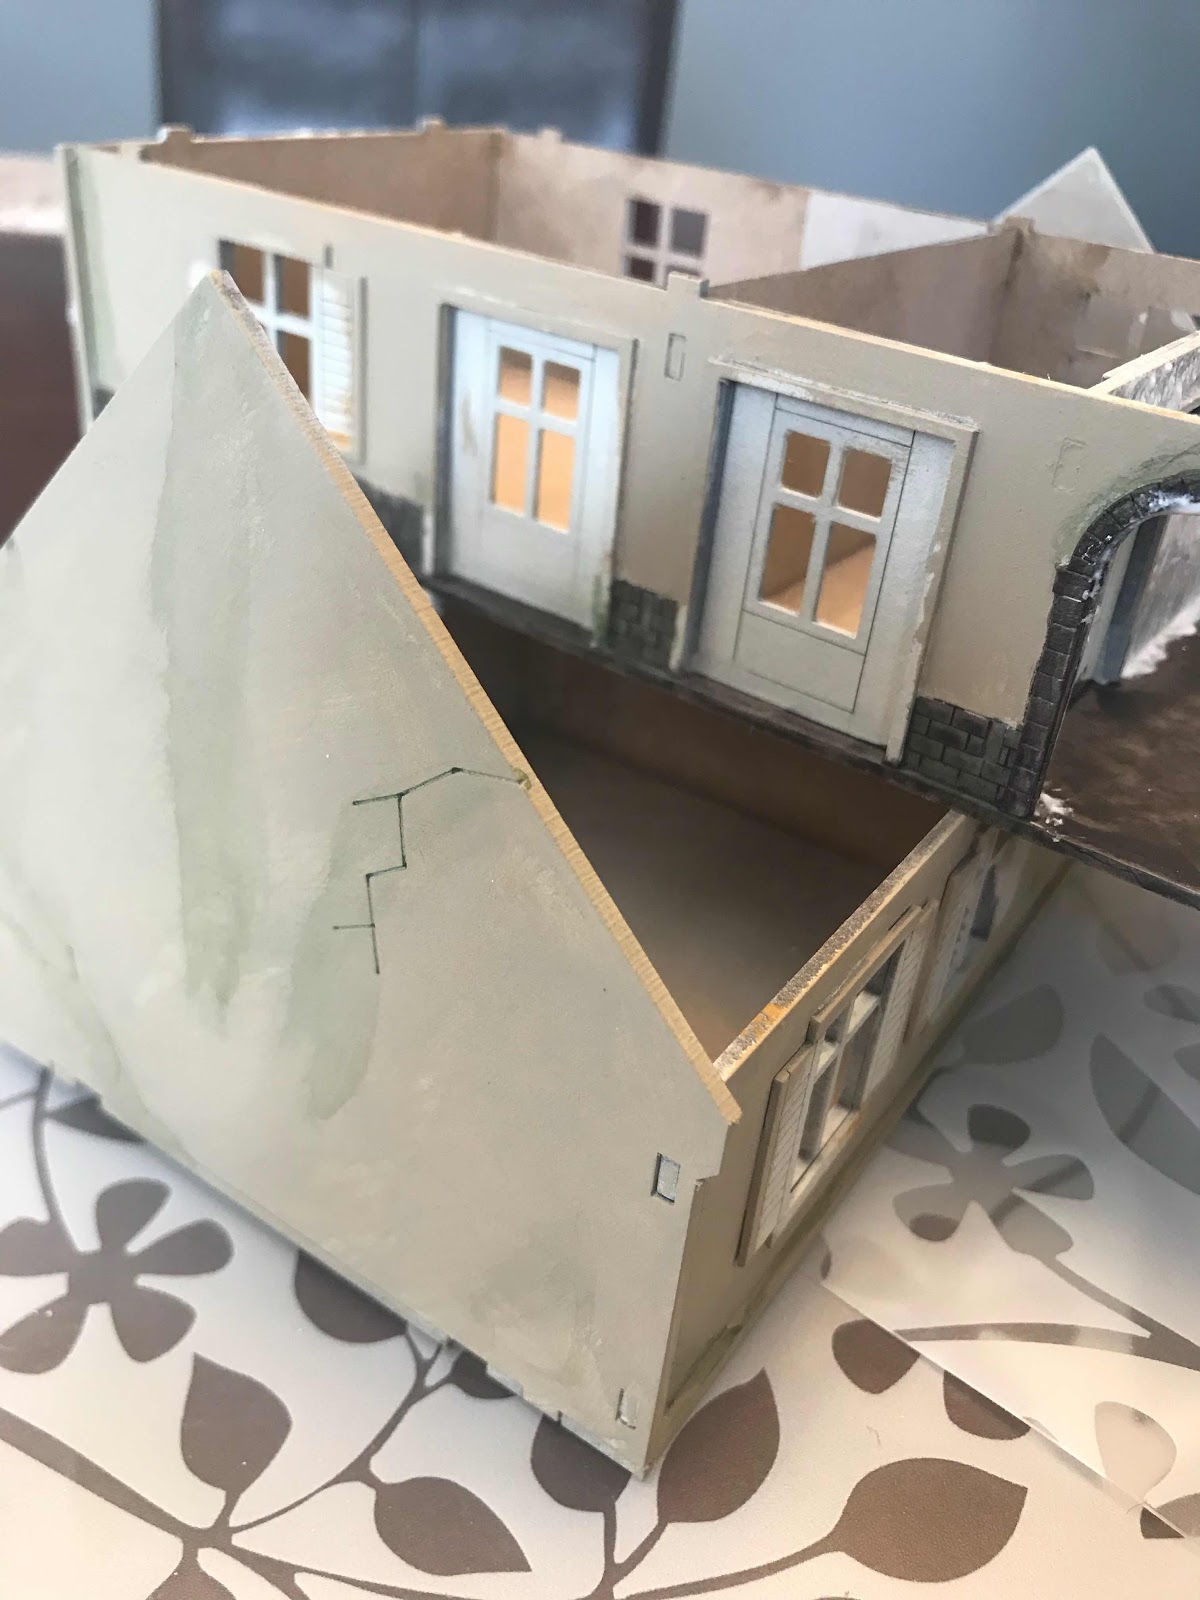
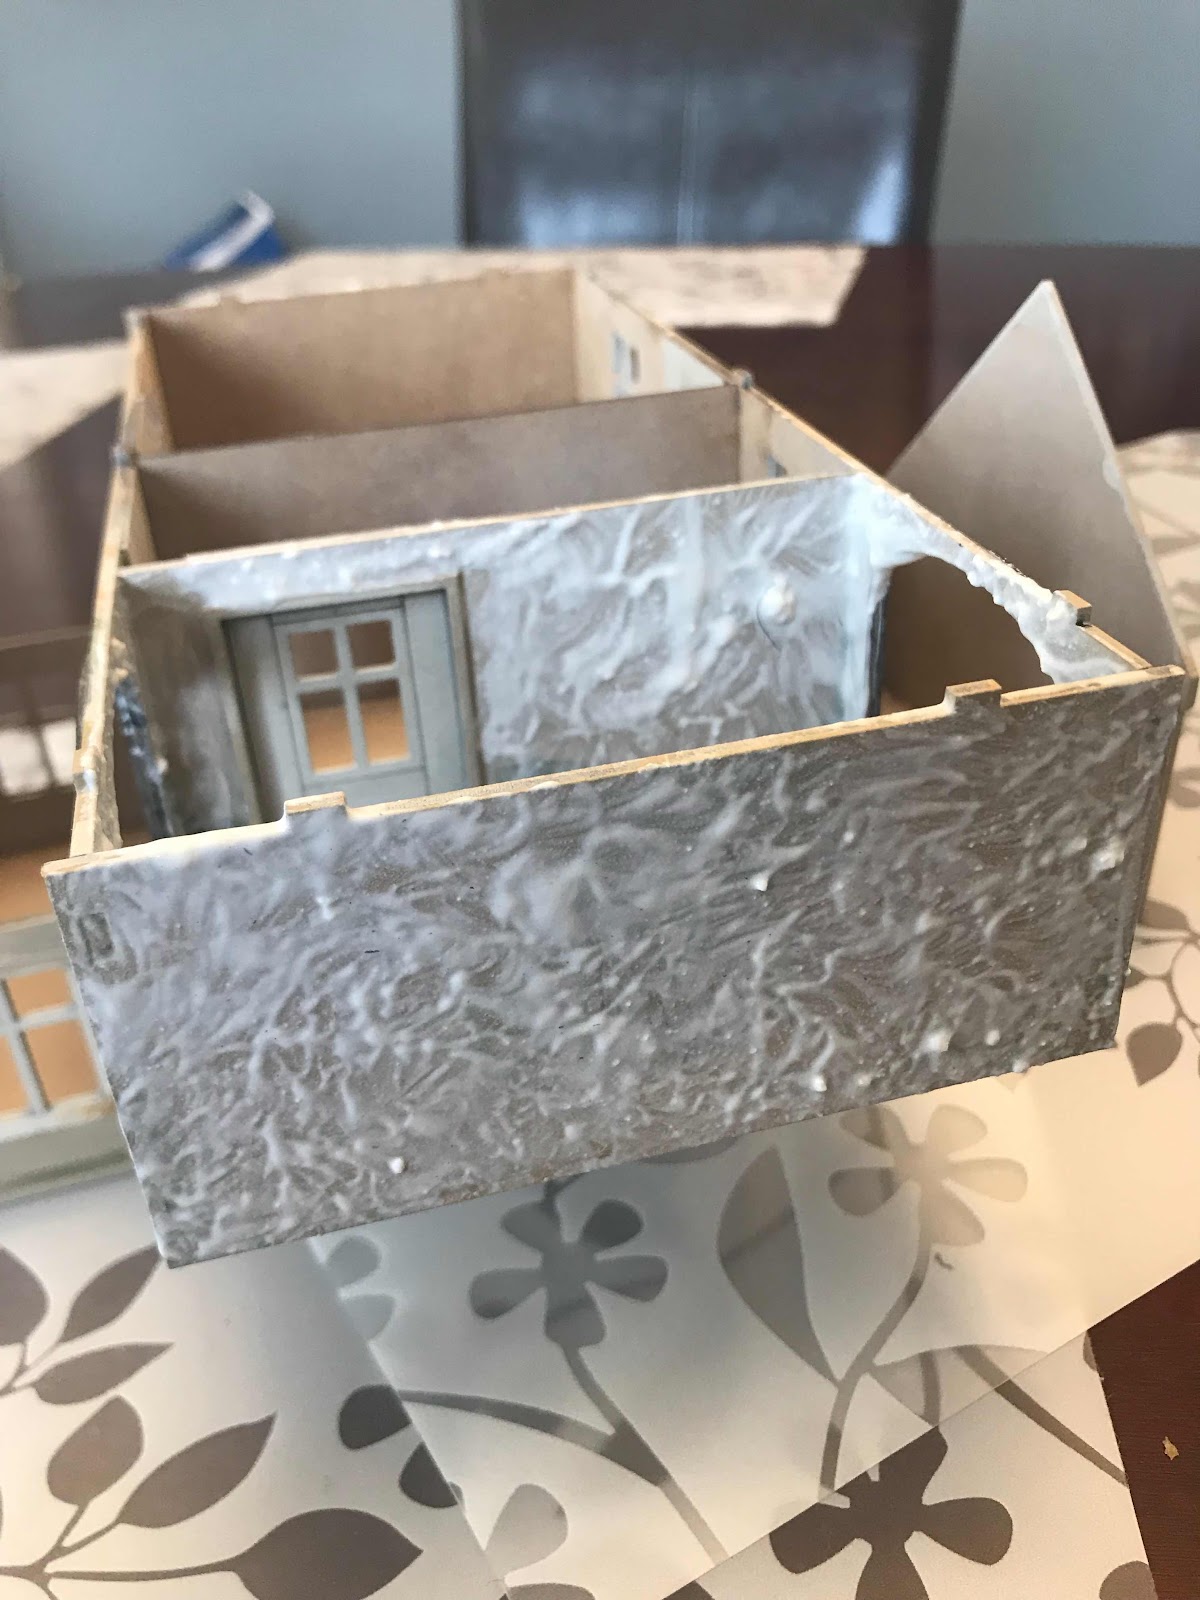
I watched Nick Skinner from TFL fame do a CFM kit and use textured spray. Taping off the inside keeps the insides cleaner. It’s not perfect but it does the trick.


Next up was the extension.


Here’s the pieces. Again zero waste.


I forgot to take a picture of it built and taped off before I took it and the workshop outside to be sprayed.

The log store is the only kit with some greyboard details. I’m not a huge fan of greyboard but it is useful.


Obligatory components picture. Wood detail looks good. Debating on just a brown wash.


Here I used PVA glue to layer the greyboard planks. The only fiddly part of all the kits.


The stone shed. Lots of detail. Another straightforward build so no instructions required.


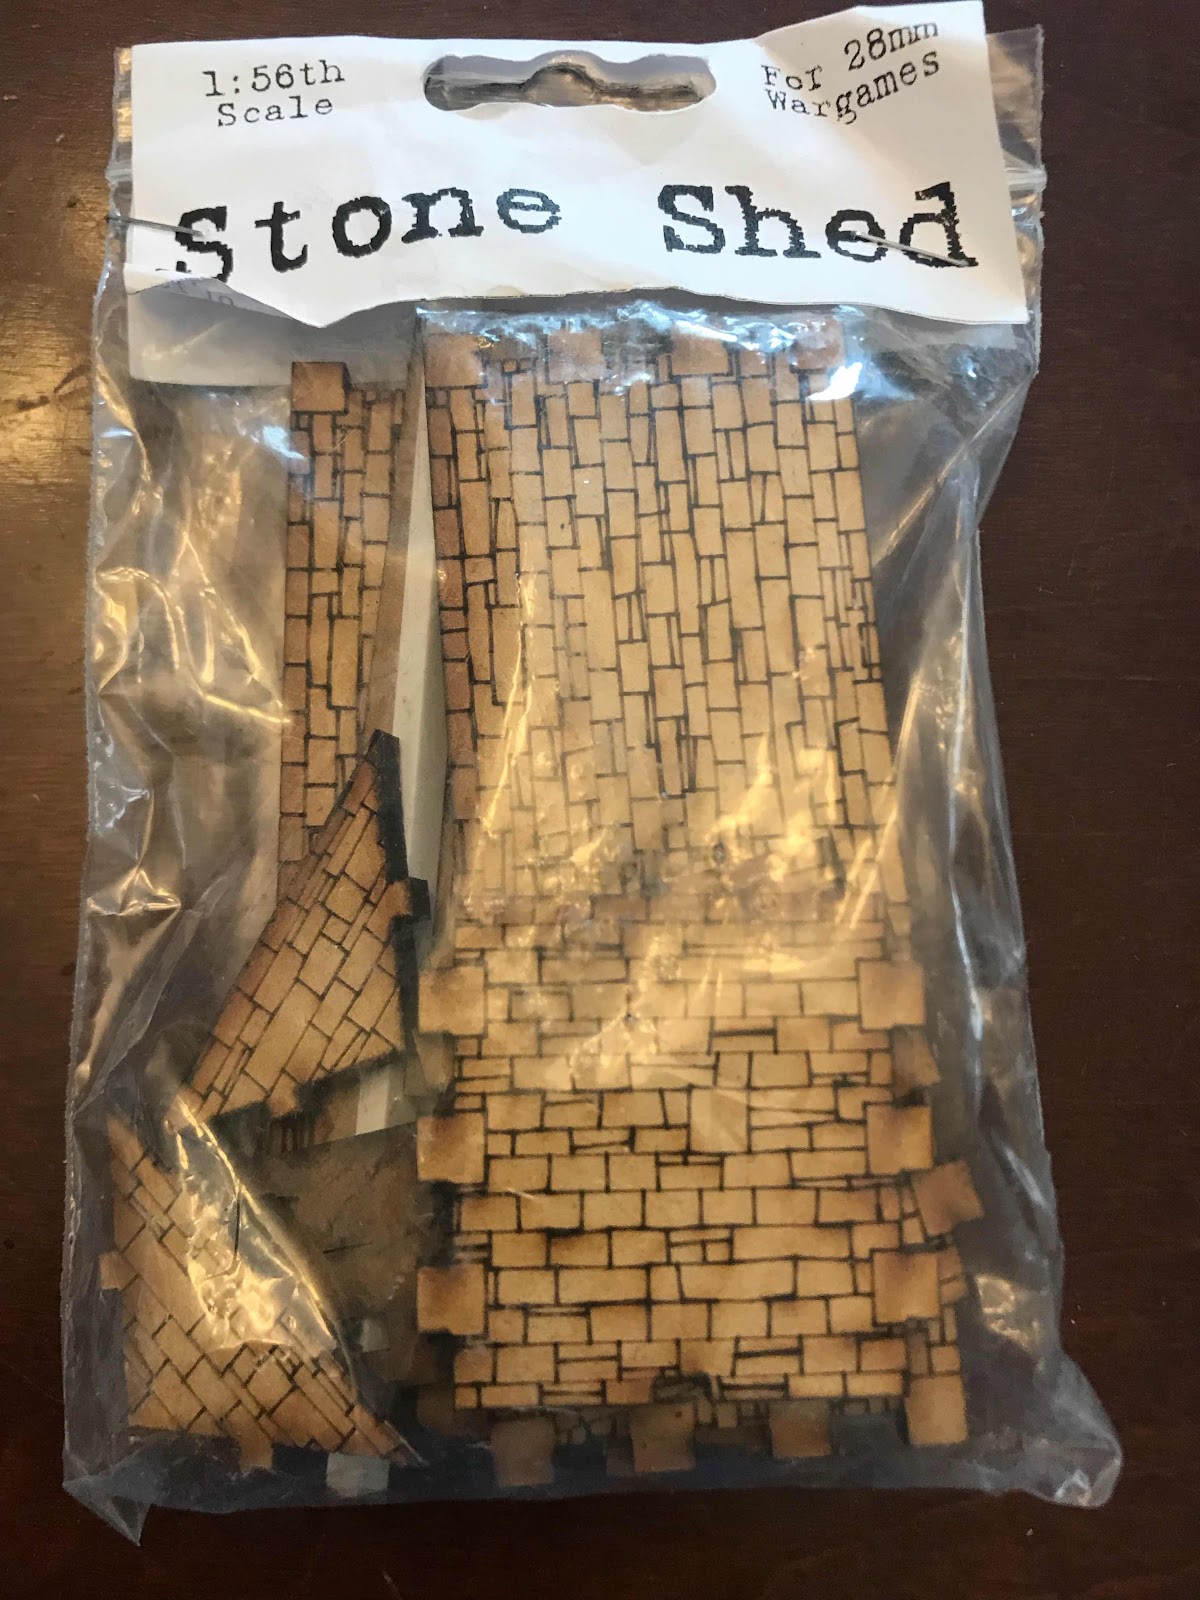
I like he stamp on the bottom of the piece. It’s a nice touch of brand recognition. My only complaint, if you could call it that is there is not an undamaged door option. 


All in all, 4 very nice kits! Took probably 10-15 minutes to assemble them all including dry fitting pieces.

Some of the holes and plugs were super tight. Some of the edges of the plugs actually split. But it’s all glued together so not a big deal.

Thursday, 14 May 2020

Charlie Foxtrot and Harry Potter

Around the time I was painting the Sarissa large farmhouse and building Chain of Command lists and watching lots of YouTube videos, I stumbled across Charlie Foxtrot Models.

I’d heard of them before and gone through their website once or twice but that was it. I was watching Nick from TooFat Lardies put together a hotel and decided to check them out further.

Well today I heard the doorbell and arrived to see the mailman walking away. I figured it was something I had ordered. My 5 year old pushed open the door and said “look it’s for me” grabbed the box and ran off into the house. (There’s a stamp on the exterior that reads Charlie Foxtrot Models, and his name is Charlie F., so close enough).

After a short foot chase, I got the box back and opened it up.


This will give me 4 medium to large buildings and two smaller ones. Hopefully I can get started this long weekend! Luckily in preparation for his I have some spray cans (textured paint) I purchased especially for this.

Over the last month or so, the oldest has been obsessed with Harry Potter: Hogwarts Battle line of games. We just finished reading the 7th book with him and watched all the movies (books before movies).

I saw that there were several expansion cards so I scoured the Internet. I think we are issuing one.


I enjoy deck builders and Harry Potter so this was a no brainer.

We also played a home brew Russian Civil War game but I’ll post about that this weekend when I have more time.

Sunday, 10 May 2020

New Toys

A couple of things came in the maillast week.

I ordered a copy of Oathmark, a hardback rule set published by Osprey Publishing and supported by figures made by Northstar Military Figures, the day it was released.

It finally came last week. I am probably amongst the first in Canada to receive it.

What I like about it. It’s hardcover, and has that nice new book smell. (I’m married to a librarian, not my fault!)
 
Aside for a picture overlapping a line of text (pg44 iirc) the book is absolutely perfect. The rules aren’t so bad either 😀.

There a plenty of jaw dropping beautiful illustrations like the Elven archer seen below.


Several pages have little sketches on them, which breaks up the pages nicely.


There are also a few double page spreads of the artwork.


I think a book of just the pictures would be an amazing thing to have. 

All in all, a great game published by Osprey. I can’t wait to finish reading itand get the figures on the table.
 
I also picked up the Mantic Games King Ezekiel Event Exclusive figure.

It cost a princely sum of £19.99. It is made of Resin and it looks amazing BUT it got me thinking a) I already own a plastic King Ezekiel, do I need another and b) would my money not be better spent on say 4 £6 packs of Artizan metals (-£1 each from VAT) for approx 16 metal figures or spending £25 on 30 Plastic Oathmark figures.

I love the Walking Dead but would like to see them release all the characters first before releasing upgraded versions of the ones I already own (there are other figures besides Rick and the Governor ya know!)


Figure wise it comes with King Ezekiel with separate arms and three heads mounted on spikes.


Here’s an updated stat card. I don’t have the other one handy so not to sure how they compare at the moment, and some equipment cards.


I purposely took pictures of the back. Don’t wanna be that guy. 

What I like: resin is so nice, great detail as compared to the older plastic. It’s nice to get new equipment.

What I don’t like: basically comes down to price. I can support the other systems I play a lot better with what it cost for one figure from Mantic.


Wednesday, 6 May 2020

A little bit of paint

Spurred on by the conversions, I sprayed some primer on and set to painting.

I had an older can of brown Krylon.

I primed everything and after leaving it to dry I set to work.

I noticed that the paint wasn’t adhering very well to the primer. And the primer still felt tacky. That hasn’t happened before. I found by taking my time though, I was able to get a nice coat.

I started with a palette of browns and greens. This is what I completed on Saturday after about 1.5 hours.


I painted for maybe 45 minutes on Sunday and did a little bit more. I’m not happy with the dark green cloaks on right side of back row. Too glossy. I might repaint them.

I also wanted white linens for the shirts. It really pops/ breaks up the monotony of green and brown.


My plan is to paint everything and do skin and hair last. Hopefully I can do a bit more before the weekend.

Friday, 1 May 2020

Simple conversions

While I wait for orders from Northstar Military Figures and Charlie Foxtrot Models, I thought I’d convert some figures I had one hand.

I’ve spliced the photos to show the original and what I ended up with.

The first is a Ranger if Shadow Deep. It was a simple conversion. Removing the hand holding the severed head and gluing a plastic Oathmark Elf hand holding a bow and a quiver on the back. 


The next two come from the Frostgrave line of figures. They are an elementalist wizard and apprentice set.

I’ve wanted to do the spear armed apprentice for a while. I used a trusty pin vice and set to work. I’m actually pretty happy with the result. I didn’t butcher the bottom hand.


Lastly I chopped off the right hand of the Wizard and glued in an Oathmark Human sword.


Tuesday, 21 April 2020

WWII French Farmhouse Part 2

Well, it’s completed. I finished it on Sunday.

Oathmark Dwarf Champion for scale.

Picture of the front. I just need a name for the store. I’m thinking the Farmer’s wife sells excess produce, dairy  and baked goods inside. I want a funny name but nothing too risqué.
I’m thinking the farmer’s name is Jim Appel (je m’appelle, get it, get it?)


Picture of the rear. I might put down a few more droplets of wash here and there. I was also thinking about putting some cobblestones and straw down inside the archway...


But for now I’m calling it done. Pretty happy with how this one turned out.

Saturday, 18 April 2020

WWII French Farmhouse

I’ve been bitten pretty hard lately by the Chain of Command bug.
Ive has paratroop forces for Britain, USA and Germany for quite some time as well as an MDF large farmhouse from Sarissa Precision.

I primed it beige and used Citadel Contrast for the stone work. I brushed on some green wash for weathering and smeared it with my finger.


I wasn’t happy with how this looked so decided to try again.

I got out some trusty spackle and mixed in some water until it was like toothpaste.

I then dabbed it on the surfaces to create a stucco look.
As the building was already assembled, it was difficult to get it consistent around the windows.


Today, with the beautiful weather, I used a medium brown spray paint to lightly dust the exterior walls.

I then used a lighter brown to dry brush the walls, which added depth.

Next I started to paint the windows and doors in white.

I have to finish the sign and the remaining windows and doors. I also have to pick out the stones along the bottom in grey and around the archway.

I’ll probably add some wash down some of the walls to look like dirt and grime.

Here are some  pictures of the progress.